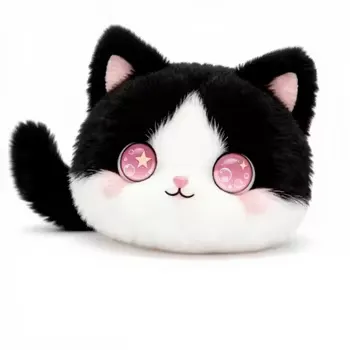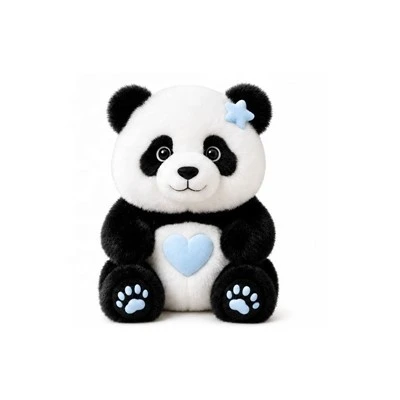
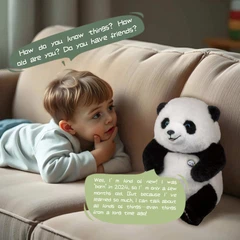
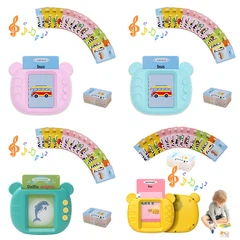
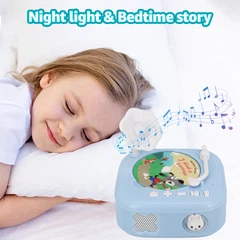
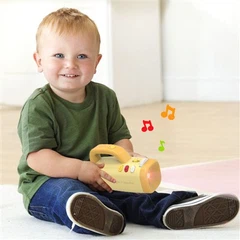
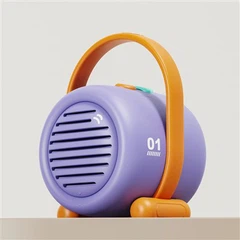
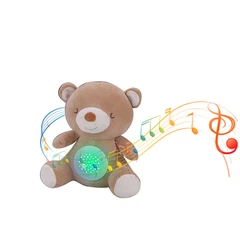
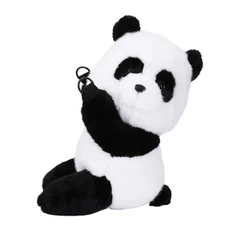
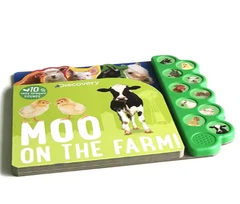

Electronic plush toys are typically equipped with sounds, movements, and lighting effects, enabling them to interact with children. This interactivity not only greatly enhances the toy's appeal but also stimulates children's imagination and creativity.
Many electronic plush toys feature built-in educational functions that help children easily recognize colors, letters, and numbers. This engaging, play-based approach makes learning more enjoyable and engaging.

While electronic plush toys offer numerous advantages, they also present certain challenges during the design and production process.
The installation of electronic components must prioritize safety to prevent small parts from detaching and posing a choking hazard. We employ a specialized structural design to securely fasten small screws and other components, eliminating concerns about children accidentally swallowing them. For rechargeable models, we use high-quality batteries with international safety certifications, providing parents with greater peace of mind.
Choose our electronic plush toys and let your child grow in a safe, joyful, and enriching environment!
How to Customize Electronic Plush Toy?
Step 1: Initial Consultation and Customization
Discussion: Engage in a detailed discussion with the client to understand their vision, including design, size, colors, and specific features.
Sketching:client provide toys three views design to us , include the size .

Step 2: Material Selection
Types of Fabric: Discuss options such as plush, fleece, or cotton, considering softness, durability, and safety for the intended audience.
Color Samples: Provide color swatches to the client for approval, ensuring the final product matches their vision.

Step 3: Prototype Development
Pattern Design: Create patterns for each part of the plush toy, including head, body, arms, and legs. Patterns should be precise to ensure accurate assembly.
Adjustments: Make necessary adjustments based on design feedback to ensure all parts fit together seamlessly.
Cutting: Use the patterns to cut the fabric into the required shapes for the toy.
Initial Sewing: Sew the parts together, leaving openings for turning and filling. This step may involve using specialized sewing machines for plush materials.

Step 4: Filling and Finishing
Stuffing: Carefully fill the toy with the selected material, ensuring an even distribution for a consistent look and feel.
Sealing: Once filled, sew the openings securely to prevent any filling from escaping.
Facial Features: Add eyes, nose, and mouth using embroidery, safety eyes, or fabric. Ensure these details are securely attached for safety.
Accessories: If applicable, add accessories like clothing, hats, or other elements as per the client's design.
Facial Features: Add eyes, nose, and mouth using embroidery, safety eyes, or fabric. Ensure these details are securely attached for safety.
Accessories: If applicable, add accessories like clothing, hats, or other elements as per the client's design.

Step 5: Assemble Electronic Sound Box and Inspection
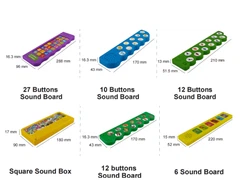
Electronic functions can customize AI capabilities, such as music, educational content, white noise, repetition functions, recording functions, and more, giving toys life and making them more interesting.

The process of creating custom plush toys involves multiple intricate steps, each requiring attention to detail and a focus on quality.
If you want knwo more details , pls contact me :